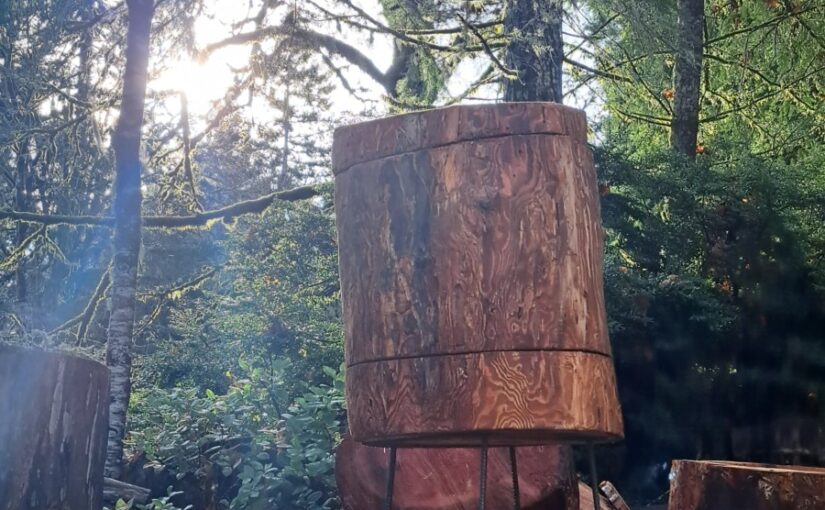
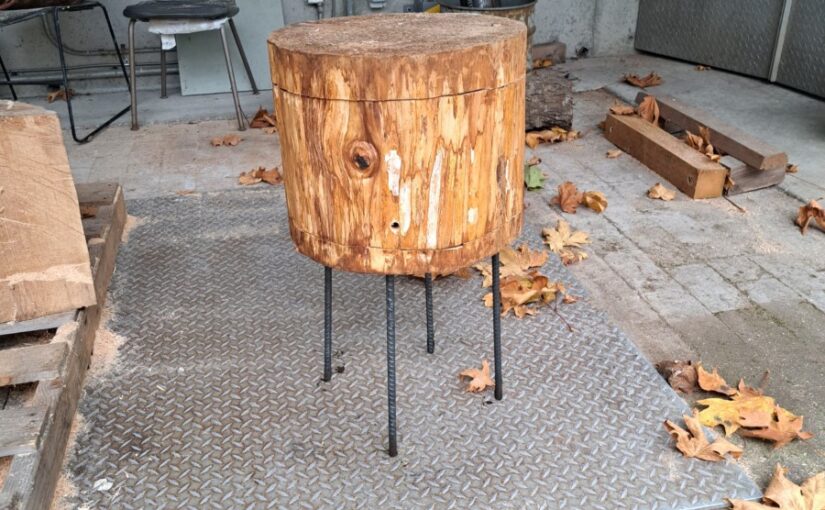
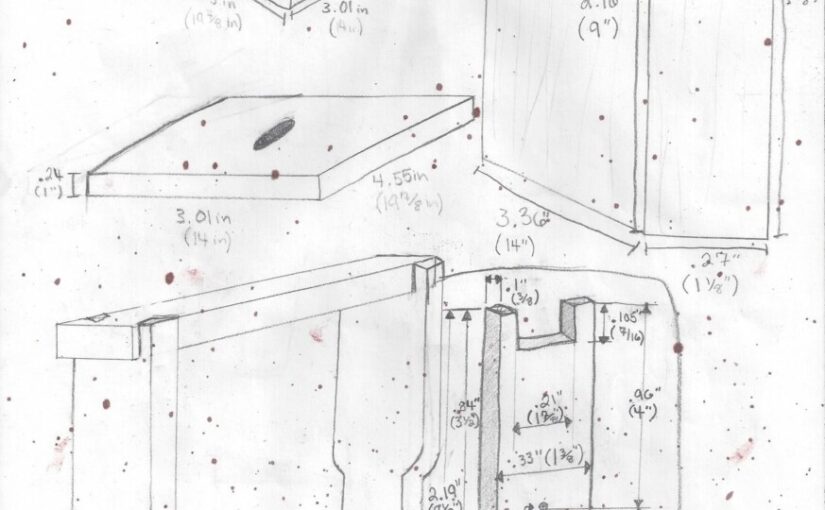
Fabrication – Week X

The Finished Hive


Making Frames

Because the dimensions of my cavity had to be altered from the traditional Langstroth hive, I couldn’t purchase commercially available frames. Because of this, I had to fabricate my own to fit the dimensions of my hive. Using slats of hemlock recycled from a ceiling fixture in TESC library, I followed publicly available blueprints for Langstroth frames, only tweaking the length and height in the design.

Unfortunately, when my frames were finished, they did not fit in the hive all the way. It appears that the the top bars were slightly too long, splaying out the top of the frames enough to prevent them from fitting.

To fix this, I simply removed a small amount of material from the cavity walls to make space, rather than changing each of the frames. I did this using large chisel and mallet, and the frames now fit comfortably inside the hive.

Fabrication – Week IX

Final Assembly and Presentation

Rebar legs were used to fix the base and cavity pieces back together. Pilot holes were drilled with a 1/2 inch auger drill through the base piece and ~4 inches into the wall of the cavity piece. Finally, four 24 inch long pieces of rebar were pounded into the hive to secure the two together. The legs were bent outwards for stability using a long hollow pipe as leverage.


Once standing, the lid was centered on the piece and both were marked for the location of the fulcrum. Half inch pilot holes were drilled into the bottom of the lid and the top of the cavity piece. A metal pin was set in the hole and the lid was pounded flush to the piece.


I presented by work to the Land-Based Learning: Foodways program at TESC. This included a look at this website and a tour of TESC Woodshop.

Fabrication – Week VIII

Hive Construction

Making a Cavity in the Second Full Sized Log Hive

After removing so much of the log’s outer layers, the space left for the cavity and walls was smaller than what I had intended. This meant that the dimensions of my cavity would have to different than that of a commercial Langstroth hive, like I had intended for frames. The volume of this cavity will be approximately 36.6 liters (13.25″x9.5″x”x17.75″).

Because the depth of cavity I needed to cut was longer than the bar of any chainsaw I had to work with this week, I had to use I different strategy to remove the material instead of doing plunge-cuts. I used the small electric saw to carve the outline of my cavity, then, I used a hatchet and mallet to break up the wood and remove it in small pieces. I removed about two inches of material this way before the larger gas-powered saw was available to use.

Fabrication – Week VII

Hive Construction

Preparing the Second Full Sized Log Hive

After last week’s work with the first log, I decided the outside of the log required much more attention. The walls of the cavity piece broke the first time because I came too close to the outside, and what material was left had started to weaken and rot. To prevent this issue from re-occurring, we used draw knives to remove roughly an inch of punky inner-bark from the perimeter of the whole log. This turned out to be a great idea, as much of this material contained surviving termites and brood which needed removal. This process was long, but resulted in a beautiful and more functional log.

Fabrication – Week VI

Hive Construction

The first attempt at a full sized log hive

Halloween started with a demonstration and chance to use the 2-ft bar chainsaw for crosscutting off the base and lid with a slightly slanted top for run-off. Because of the irregular shape of the log and weakness around the outer edges, a small change had to be made to the length of the nest cavity (from 15.5″x19″ to 15.5″x15.5″). This will require me to make my own Langstroth frames with a slight size alteration.

Using the 12″ electric chainsaw, I made plunge cuts to remove the inner cavity. Due to the outside’s weakness and a few slips with the saw, the cavity piece separated into three parts. These can be held back together, but I have another log to try again with next week.

Fabrication – Week V

Finishing the Practice Log

The small cedar round has been transformed into a prototype hive. After crosscutting away a lid and base, the center of the log was removed in a rough square with a shoulder for top bars with comb. Rebar was used to hold the base and box together, as well as raise the hive from the ground.


Annotating Bibliography

The wrest of my time this week was spent thoroughly reading through some of the sources in my bibliography. I wanted to pull one quote from each paper so I can keep their contents in mind while I work on writing a rough draft of my paper.

Take a look at the bibliography page to see some defining quotations regarding aspects of honey bee nest-cavities and the effects they have on their occupants.

Fabrication – Week IV

Research Brainstorming

Table 11.1 from chapter 11 of The Lives of Bees: The Untold Story of the Honey Bee in the Wild by Thomas D. Seeley.

In this chapter, Seeley summarizes the fundamental differences he found between the lives of wild and managed honey bees in 40 years of studies. He continues by listing core aspects of Darwinian Beekeeping to consider in any practice or apiary to support the self-adaptation of honey bees.

Seeley, T. D. (2019). DARWINIAN BEEKEEPING. In The Lives of Bees: The Untold Story of the Honey Bee in the Wild (pp. 277–292). Princeton University Press.

This Venn diagram organizes Seeley’s twenty-one concerns for managed colonies into the three integral aspects of honey bee survival, health, reproduction, and nest efficiency.

WildManaged
2. Widely Spaced NestsCrowded Apiaries
3. Small Nest CavitiesLarge Hives w/ Supers
4. Propolis EnvalopePropolis Discouraged
5. Insulated NestsThin Nest Walls
6. Small, High Entrances Large, Low Entrance
9. Rare Nest Relocation10. Frequent Nest Relocation

Six distinctions in the lives of wild and managed honey bees I would like to discuss in my analysis of housing of bees for industry and leisure.